If you’re new to Excel, here’s a guide to the different mouse shapes you’ll see, and what they are used for.
General Select
What it looks like: Thick plus shape.
When you see it: Appears when the mouse is anywhere over the worksheet grid.
Why do I need it: Selecting a range of cells by clicking and dragging the mouse over the cells. You can select cell or cells not next to each other by holding the Ctrl before dragging the second selection.
Fill/Copy
What it looks like: A thin plus shape.
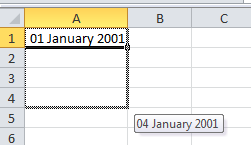
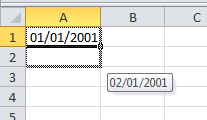
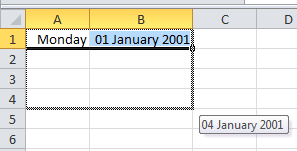
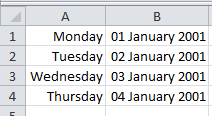
When you see it: Select a cell and then hover the mouse pointer over the small square in the lower right corner of the cell.
Why do I need it: Copying cell content or using the autofill function
Move Cell (or range of cells)
What it looks like: Mouse arrow with a four pointed arrow incorporated.
When you see it: Hover the mouse over the black edge of a selected cell or selected range to make it appear.
Why do I need it: Moving contents of a cell or range of cells. Click and drag to move cell contents.
Column/Row Resize
What it looks like: A black line with arrows pointing in two directions
When you see it: Hover the mouse pointer over the line on the column or row headings that separates columns or rows. Position it over the line on the right-hand of the column to resize, or the lower-line of the row to resize.
Why do I need it: Making columns or rows wider or narrower. Click and drag to manually resize or double-click to resize to widest entry. Multiple columns or rows can be resized at the same time by selecting them first, then double-clicking or clicking and drag on ANY of the column/row dividers on the selection.
Column/Row Select
What it looks like: Small black arrow pointing down or to the right.
When you see it: Hover the mouse is over a column or row heading.
Why do I need it: Select a column or row. Single click to select the column or row. Click and drag across the headings to select multiple rows or columns. Hold Ctrl while clicking to select columns or rows not next to each other.


