You’ve found the perfect image that illustrates the point you’re trying to make in your presentation, so you drop it in. Unfortunately it has a big white rectangle around it that really spoils the look. Or you’ve inserted the logo for your company’s new product but the black background makes it jar against the slide. You could modify it in a dedicated image editing program such as Adobe Photoshop, however PowerPoint has many useful image editing abilities built in.

One of these features include setting one of the colours to be transparent. Here’s how to achieve this in different versions of PowerPoint.
 Setting the transparency in PowerPoint 2007:
- Select your image
- Select the Format tab on the ribbon
- Select Recolor
- Choose Set Transparent Color
- Now click on the colour in the image you wish to set as see-through.
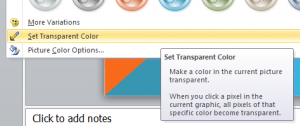
 Setting the transparency in PowerPoint 2010:
- Select your image
- Select the Format tab on the ribbon
- Select Color
- Choose Set Transparent Color
- Now click on the colour in the image you wish to set as see-through.
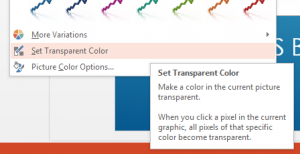
 Setting the transparency in PowerPoint 2013:
- Select your image
- Select the Format tab on the ribbon
- Select Color
- Choose Set Transparent Color
- Now click on the colour in the image you wish to set as see-through.

Want to know more? This technique among many others is covered in our Best STL PowerPoint training, London and UK wide.
 Setting the transparency in PowerPoint 2007:
 Setting the transparency in PowerPoint 2010:
 Setting the transparency in PowerPoint 2013: